STEAMPUNK LAMP
This was built as a present for someone for Christmas 2013, but we've had a few requests for more details of this thing, so we thought it'd be an idea to put up a page with more photos etc.
To be honest we aren't that keen on using the term 'steampunk' in any respect, as it seems to just be an easy label to cover a whole load of completely gratuitous and unusable design. The Victorians didn't just stick a load of useless cogs and metalwork all over everything for no reason, they built solid efficient machinery that worked, and then made it beautiful!
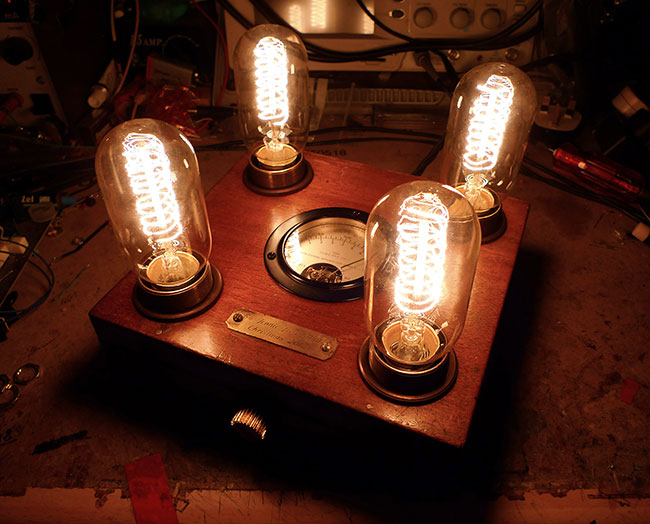
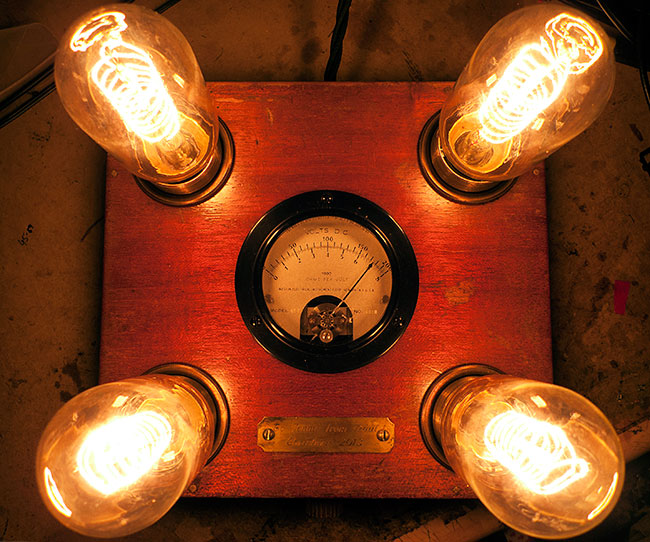
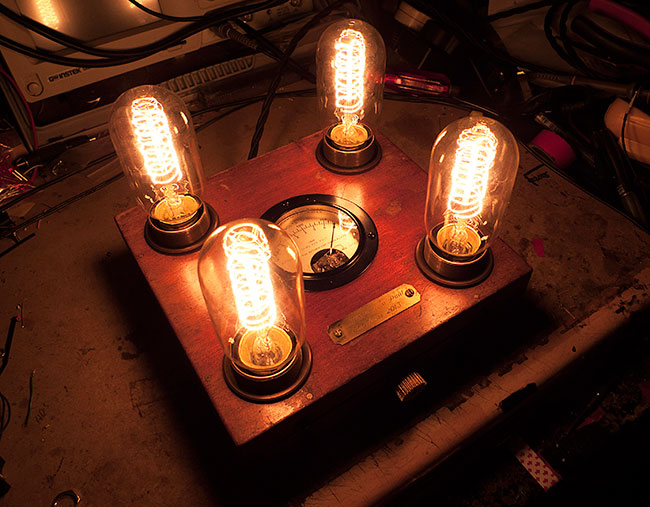
As you can see, the lamp has four Edison bulbs, a VU meter display, and a dimmer switch on the front. The case is built from what appears to be a solid mahogany box. This may well have once been a cigar box, but whatever it was originally it was bought from ebay for around £10 or so. The holes in the top for the lamp holders and the meter were cut using a pillar drill and a set of hole saws.
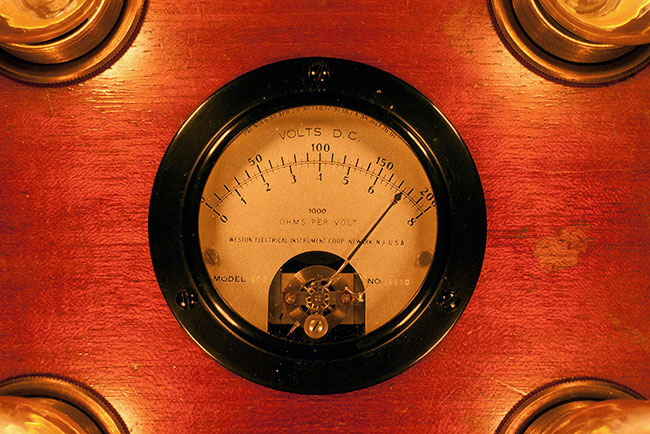
The VU meter was salvaged from a 1960's electrical test set and is wired up to display the voltage the lamps are running on. Its not 100% accurate, as the meter only goes up to 200v and UK mains voltage is 240v, but you can't be too choosy when reusing old parts like this. The meter is wired in parallel with the lamps, with a couple of resistors to take the current down to a workable level
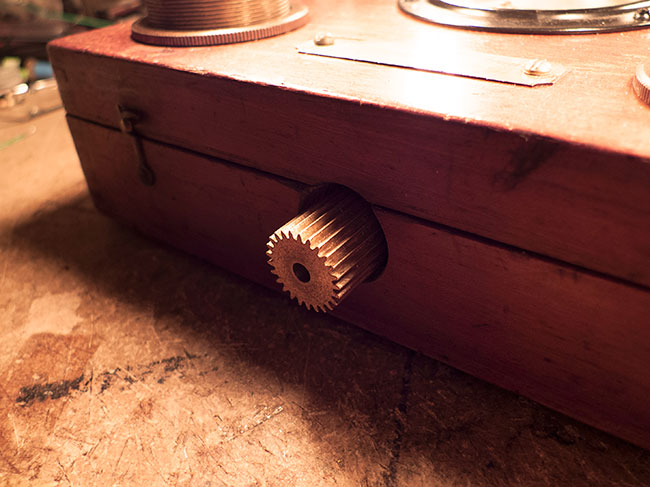
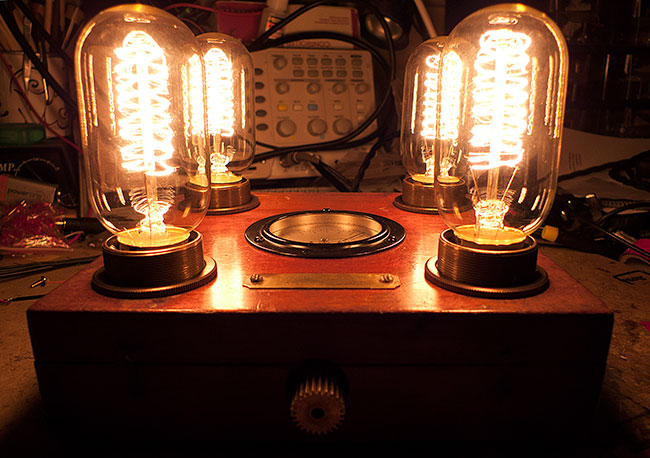
The lamp is controlled using a dimmer switch module bought from ebay for £5 or so. As its virtually impossible to buy a solid brass knob that would match up with the rest of the hardware (unless you want to spend ridiculous money on some reproduction Westone guitar knobs), we decided to use an old Meccano cog / pinion, with the hole drilled out to accept the dimmer switch shaft. We got this from Meccano Spares where you can find loads of useful old brass parts for projects like this.
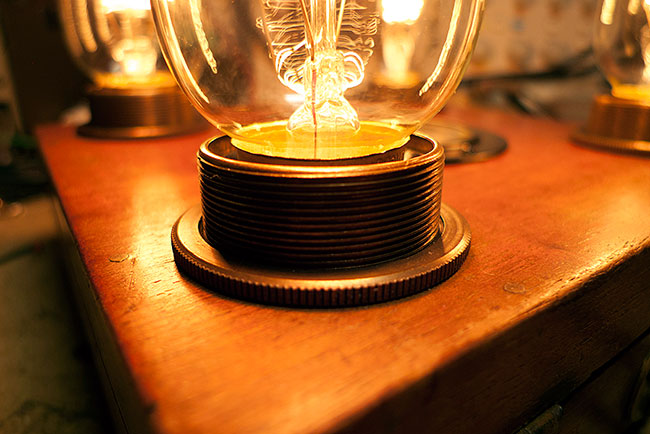
The lampholders were probably the most expensive part of this project. They cost around £8 each from ebay, but as ebay links don't last forever, heres a LINK to the same thing elsewhere. Note the fact that there are two shade rings on that holder. As we realised only after buying lampholders with one ring, you need to the two rings so you can secure the lampholder onto the box panel. The rings are tightened one above the panel, and the other below.
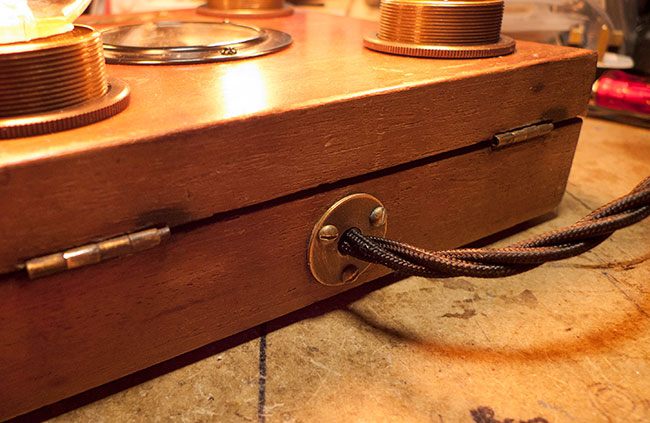
The cable entry is in fact a brass lampholder mounting plate, with the threaded section pointing inwards instead of outwards. A threaded flex grip was then screwed onto the thread inside the case and the cable passed through it. All these parts, as well as four spare brass shade rings, were bought from spares2you.co.uk
As normal mains cable was going to look completely out of place on this thing, we used some new twisted three core cloth covered cable. This should be available from most lighting shops, or various places on the net.
Bear in mind that if you are using metal lampholders like we have here, you need three core cable as the holders need to be grounded via the plug. This is very important as it stops you dying if something went horribly wrong and the holders became live for some reason.
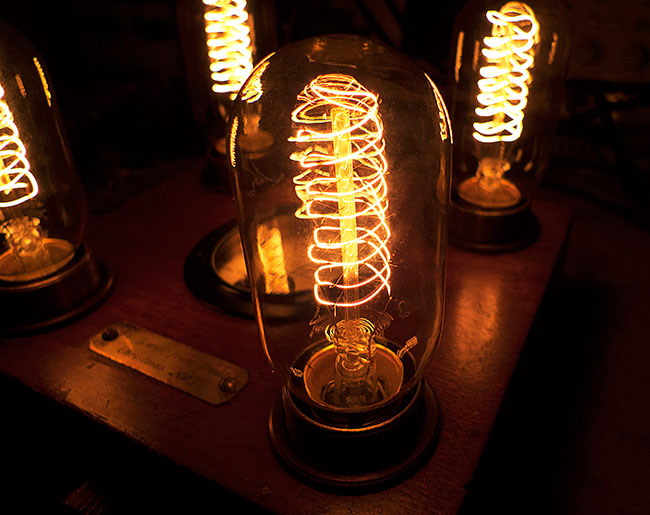
These kind of bulbs are available from lots of places all over the net in various different shapes and with different filament arrangements. Just do a search for 'edison bulb' on google and you'll find dozens of variations. These particular ones were again from ebay in china and cost around £6 each. They aren't cheap, but they do look very cool in combination with a dimmer switch. The other bonus is that as they are only 40w, each individual bulb won't get hot enough to burn you even when its turned to full brightness.

The plaque was bought custom engraved from Tartan Traders after about 6 failed attempts to do it with a CNC machine. There are some points when you just have to reluctantly accept that someone else can do it better for a lot less money. ;-)
All the brass parts were given an aged look by removing any lacquer protection using acetone, and then hanging the part in a sealed jar above a couple of cm of household ammonia. The ammonia vapors rapidly discolour the brass to give the impression that its been heavily used for decades. If you search on the net you can find several ways of aging brass, but this seemed the easiest and most controllable.
If you want a slightly more battered look, you can always throw your parts into a bag with a load of screws and nails, and shake them around for a few minutes to give some random scratches and scuffs before the aging treatment. Another good technique is to lightly rub some wire wool over the part after it has been aged, in order to highlight the raised areas which would receive the most wear.